Robotic Knee Replacement Surgery: The Complete Step-by-Step Guide
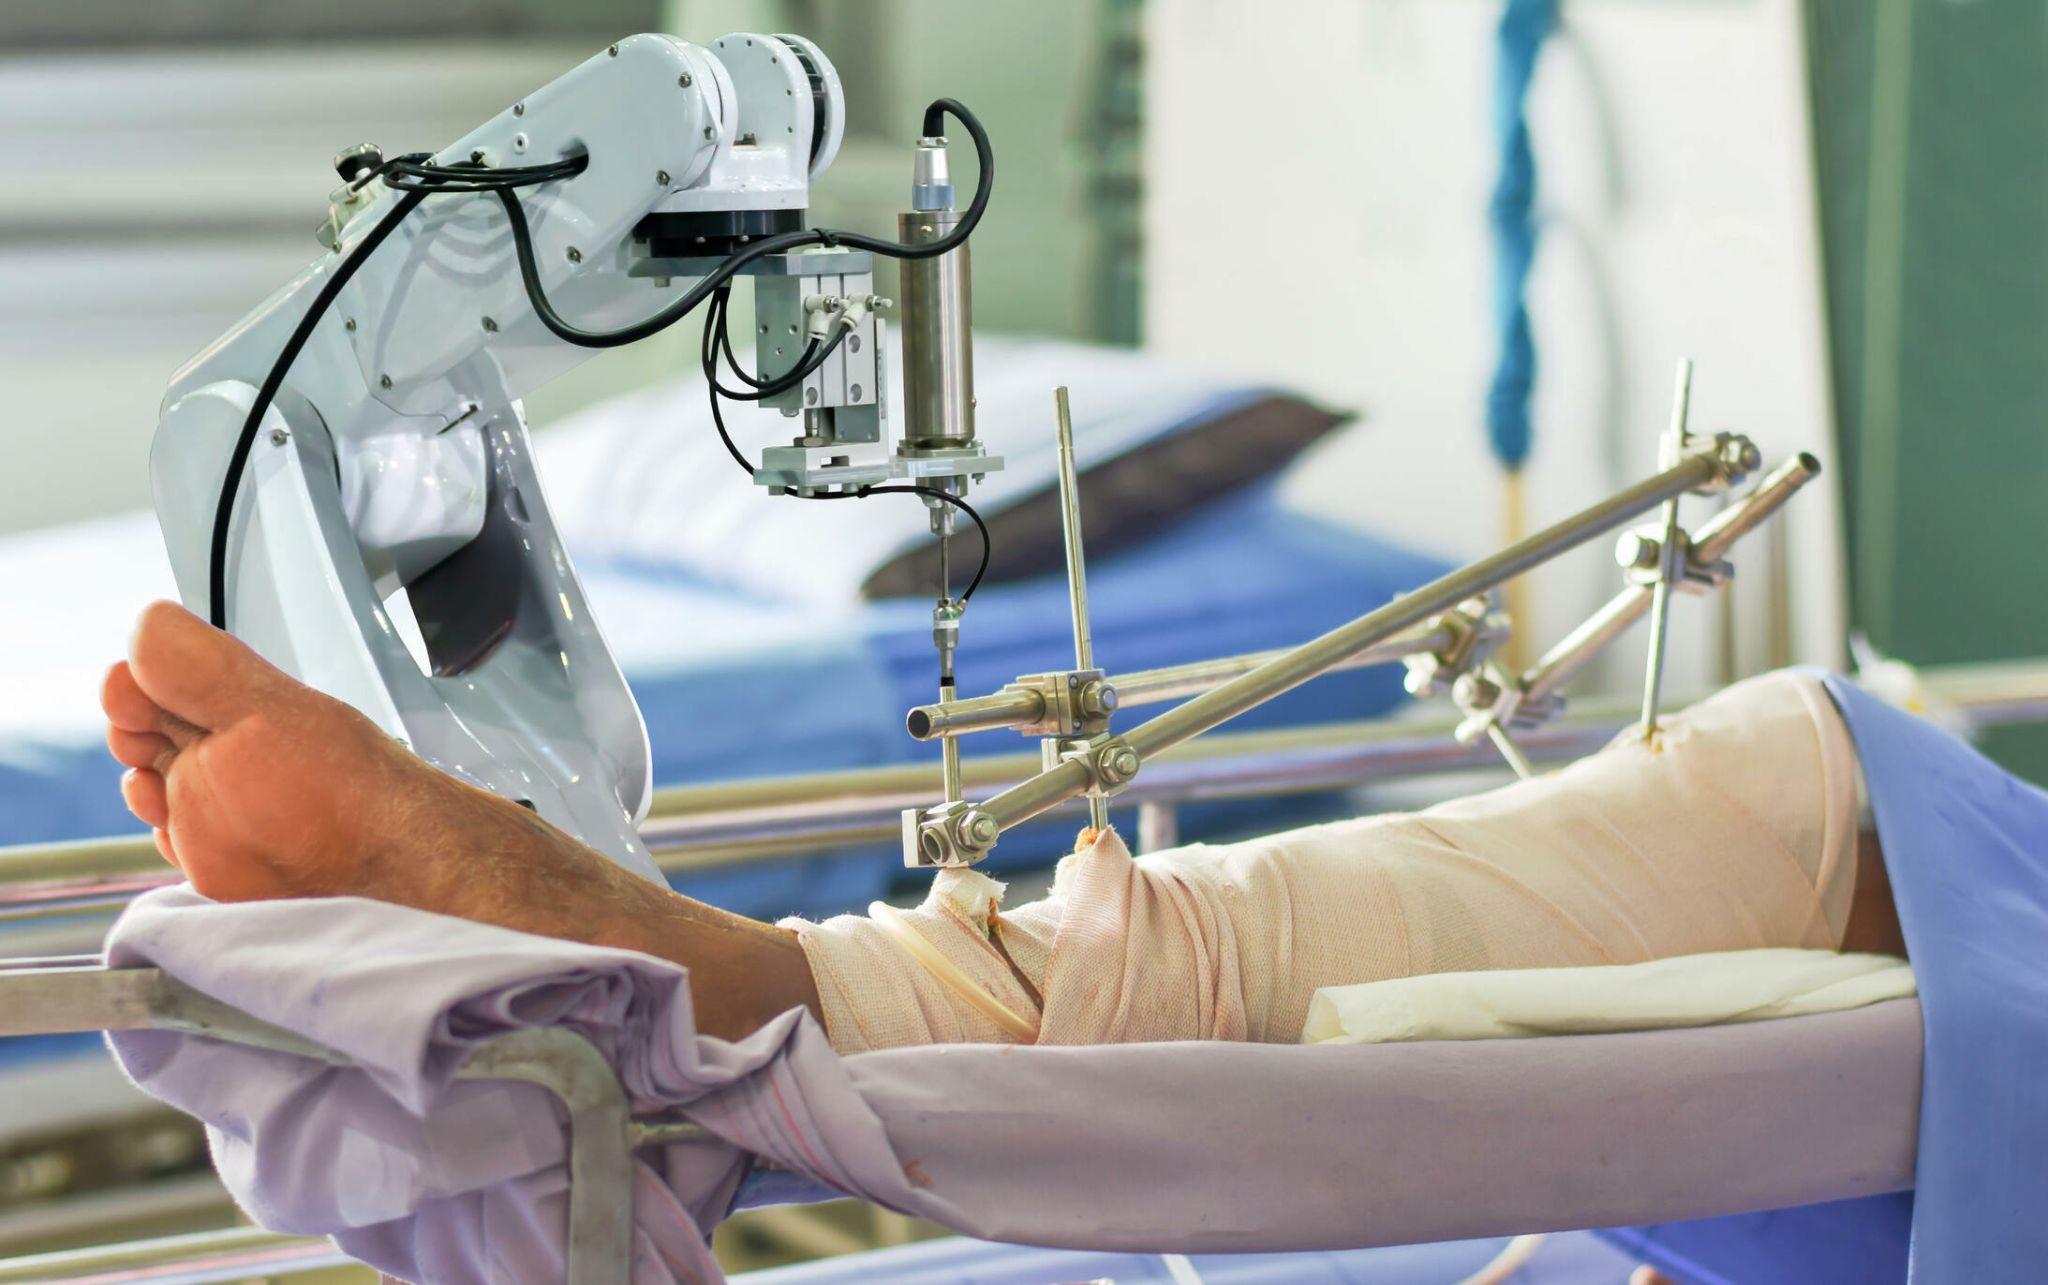
Robotic knee replacement surgery using advanced robotic arm technology. Precision-guided knee joint replacement for improved alignment and recovery
Robotic knee replacement is described in many ways — "more precise," "computer-guided," "advanced technology." These descriptions are accurate but incomplete. They tell patients what robotic surgery is without telling them what it actually involves — what happens, in what order, at what stage, and why each step matters for the outcome.
This guide explains every phase of robotic knee replacement surgery at KDSG Superspeciality Hospital in Greater Noida, from the first appointment where the decision is made to the surgical day itself. By the end, the technology will feel familiar rather than intimidating.
What Makes Robotic Knee Replacement Different: The Core Principle
In conventional knee replacement, the surgeon uses mechanical guides — metal rods and cutting blocks aligned to bony landmarks — to plan and execute the bone cuts. These guides work well in experienced hands, but they have inherent limitations: the landmarks they reference can be variable, the manual placement of guides introduces small errors, and there is no real-time feedback confirming that the cut was made exactly where it was planned.
Robotic-assisted knee replacement replaces this manual guidance system with a digital one — using a three-dimensional map of the patient's specific anatomy, a pre-operative plan created before the patient enters the OT, and real-time robotic feedback during surgery confirming each bone cut matches that plan.
The result is a procedure that is personalised (planned from each patient's individual CT scan), verified (checked in real-time during surgery), and accurate (within 1 to 2 degrees of the planned target consistently).
Step 1: The Pre-Operative CT Scan
Unlike conventional knee replacement, which relies on standing X-rays and the surgeon's intraoperative judgment, robotic-assisted surgery begins with a CT scan of the operated knee — typically performed 2 to 4 weeks before surgery.
What the CT scan involves:
A thin-slice CT scan of the knee, extending slightly above and below the joint, is performed at a radiology centre. The scan takes approximately 10 to 15 minutes. No injection is required for this scan.
Why it is necessary:
The CT scan provides three-dimensional data that standing X-rays cannot — the precise shape of the bone ends, the degree of any deformity, the density and quality of the bone, and the exact geometric dimensions needed for accurate implant sizing. X-rays are two-dimensional projections; the CT creates a digital three-dimensional model.
What happens with the data:
The CT images are processed by specialised software that constructs a 3D virtual model of the patient's knee. This model is the foundation for everything that follows.
Step 2: Pre-Operative Digital Planning
The 3D virtual knee model is reviewed by Dr. Ankur Singh before surgery. Using the planning software, he determines:
Implant selection: The exact size of the femoral component, tibial baseplate, and polyethylene insert that best fits the patient's bone geometry. This is not estimation from X-rays — it is measurement from a precise 3D model.
Implant position: The exact orientation at which each component will be placed — the rotation of the femoral component, the slope of the tibial baseplate, the alignment of the mechanical axis (the line from hip to ankle that the corrected knee must fall on).
Resection depths: How much bone will be removed from each surface — calculated precisely to accommodate the implant while removing the minimum necessary bone.
Predicted soft tissue tension: The planning software calculates the expected gap (space) between femoral and tibial components in both extension and flexion with the planned positioning. This gap balance is critical to the knee's stability and range of motion.
The surgical plan is created, reviewed, adjusted if necessary, and finalised before the patient arrives for surgery. This is fundamentally different from conventional surgery, where these decisions are made intraoperatively, in real-time, in the OT.
Step 3: Day of Surgery — Hospital Arrival to OT
You arrive at KDSG Hospital at the instructed time. Pre-operative preparations are the same as for conventional knee replacement:
- IV line placed
- Pre-operative antibiotics given
- Spinal anaesthesia administered with sedation
- Positioned on the operating table with the leg in the operating position
One additional intraoperative step happens at the start of robotic surgery: registration.
Step 4: Intraoperative Registration
After the knee is exposed through the surgical incision, the robotic system is "registered" to the patient's actual anatomy. This step bridges the pre-operative digital plan to the real-world surgical situation.
How registration works:
Small reference markers (trackers) are attached to the femur and tibia through small additional incisions. A hand-held probe is then used by Dr. Ankur Singh to touch specific bony landmarks on the exposed joint surfaces. The robotic system records these landmark positions and computes the relationship between the patient's actual bone position in the operating theatre and the corresponding positions in the 3D digital model.
After registration, the system knows — in real-time — exactly where every part of the patient's knee is in three-dimensional space. When the surgical tool moves, the system tracks it against the digital model simultaneously.
Registration takes approximately 5 to 10 minutes. It is the step that makes the real-time guidance possible.
Step 5: Robotic-Guided Bone Preparation
This is the heart of the robotic procedure — and where the accuracy advantage is generated.
Dr. Ankur Singh uses a powered cutting tool (a burr or saw) to remove the arthritic bone surfaces. What makes this robotic rather than conventional is the guidance system surrounding this tool use:
Real-time position tracking: The system continuously shows — on a display in the OT — exactly where the cutting tool is relative to the planned cutting zones. The display shows the tool approaching the bone, entering the cut zone, and stopping at the planned depth.
Haptic feedback (physical resistance): The robotic arm provides physical resistance when the cutting tool approaches the boundary of the planned zone. It becomes physically difficult — and depending on the system, impossible — to cut beyond the planned boundary. This prevents the most critical errors: cutting too much bone, cutting at the wrong angle, or cutting in the wrong plane.
Verification of each cut: After each bone surface is prepared, the system measures the result against the plan. If a cut is within tolerance (1 to 2 degrees and 1 to 2 millimetres of the planned target), the system confirms this and the procedure continues. If a cut has deviated, the system alerts the team before the next step — allowing correction before proceeding.
The femoral preparation: Four to five separate cuts shape the end of the thigh bone to receive the metal femoral component, each executed with robotic guidance.
The tibial preparation: A single flat cut removes the top surface of the shin bone to receive the tibial baseplate, the slope of which has been precisely planned for optimal load distribution.
Throughout this phase, Dr. Ankur Singh remains in full control of the surgical instruments. The robotic system provides guidance and boundaries — it does not operate independently.
Step 6: Trial Fitting and Digital Verification
With the bone surfaces prepared, trial (temporary) implant components are placed. The knee is moved through its full range of motion. The robotic system then performs a formal verification:
Gap balance measurement: The system measures the space between the trial femoral and tibial components in both full extension and 90 degrees of flexion. These gaps should be equal — a balanced gap at both angles means the soft tissue tension is symmetric and the knee will function correctly through its full arc.
Alignment confirmation: The mechanical axis (the straight line from the centre of the hip to the centre of the ankle, which should pass through the centre of the knee) is confirmed on the digital display. Any deviation is identified before the permanent implant is placed.
Comparison to the pre-operative plan: The system displays side-by-side comparison of the planned implant position and the achieved trial position. Dr. Ankur Singh reviews this comparison and makes any fine adjustments to the soft tissue balance before proceeding.
This verification step — real-time confirmation that the actual result matches the digital plan — is not possible in conventional surgery. It is the step that catches any discrepancy before it is permanently fixed.
Step 7: Final Implant Placement and Closure
The trial components are removed. The verified bone surfaces receive the final implants
- The metal femoral component is cemented or press-fitted (depending on the chosen fixation) onto the prepared femoral surface
- The metal tibial baseplate is cemented or press-fitted onto the tibial cut surface
- The polyethylene tibial insert clicks into the baseplate
- The kneecap may be resurfaced with a polyethylene button
The knee is moved through its range of motion with the final implants to confirm optimal function.
The wound is closed in layers. Dressing applied. The robotic reference markers are removed through their small incisions.
Step 8: Recovery
Recovery after robotic knee replacement follows the same progression as conventional knee replacement — Day 1 walking, daily physiotherapy, discharge on Day 3 to 5.
The difference in recovery is subtle but consistent: robotic patients typically achieve walking milestones 7 to 14 days earlier, achieve target flexion range 3 to 5 days sooner during hospitalisation, and report the knee feeling more natural at 3 and 6 months. These are not dramatic differences — the recovery arc is recognisably similar — but they are consistent findings across published comparison studies.
Frequently Asked Questions
Does the robotic arm move by itself?
No. The robotic arm provides haptic guidance and physical resistance within the planned boundaries. Dr. Ankur Singh controls all instrument movement. The system makes cutting within the plan easier and cutting outside the plan physically harder — it does not move autonomously.
What if my anatomy is unusual?
Unusual anatomy is precisely the situation where robotic planning adds most value. The pre-operative CT scan and digital planning are specifically designed to account for individual anatomical variation that standard mechanical guides handle less well.
Is robotic knee replacement available in Greater Noida?
Yes. Dr. Ankur Singh performs robotic knee replacement at KDSG Superspeciality Hospital in Greater Noida — one of a small number of centres in Delhi-NCR outside central Delhi with this technology.
How do I book a consultation for robotic knee replacement in Noida?
Call the number listed on this website. Consultations at Renew Orthopedic Clinic, Sector 47 Noida.
Dr. Ankur Singh | Robotic Knee Replacement Surgeon Noida Greater Noida | KDSG Superspeciality Hospital | Renew Orthopedic Clinic Sector 47 Noida | Best Robotic Joint Replacement Delhi NCR
Medical Disclaimer
The information provided on this website is for educational purposes only and should not be considered as medical advice. Please consult Dr. Ankur Singh or a qualified healthcare professional for personalized medical guidance.
Share this blog:
 Copy
Copy